
How to Replace the Rear Wiper Blade on a Toyota 4Runner and RAV4
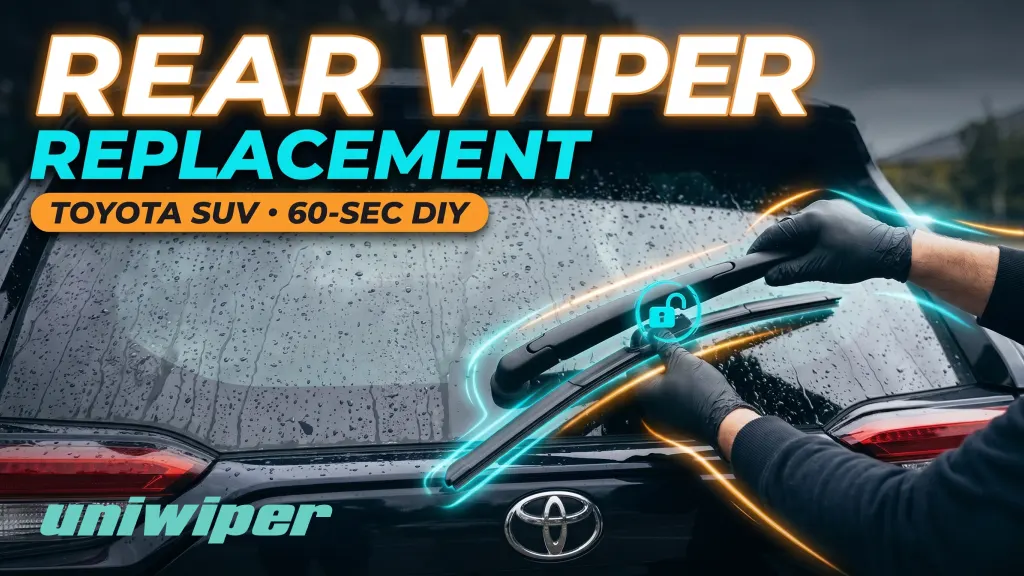
Your rear wiper blade probably hasn’t crossed your mind since you bought your Toyota. That’s completely normal. Most drivers focus on the front wipers and forget there’s one quietly sitting on the back of their SUV, getting baked by the sun and worn down by the elements. Then a rainy day hits, and suddenly that streaky, squeaky blade at the back becomes impossible to ignore.
If you’re searching for help with your 4runner rear wiper blade, or you own a RAV4 and need the same fix, you’ve landed in the right place. These two popular Toyota SUVs actually use different rear wiper connectors, which is why a lot of generic guides leave owners confused. This post covers both, step by step, in plain language anyone can follow.
By the time you finish reading, you’ll know exactly why the two models differ, what to buy before you start, how to complete the swap in under ten minutes, and how to troubleshoot if something doesn’t click into place the first time. No mechanic required.
Why Rear Wiper Blades Get Skipped at Service Time

Most drivers replace front wipers the moment they start streaking, but the rear blade gets ignored until visibility is genuinely bad. The rubber degrades at the same rate front to back; the rear blade just doesn’t announce itself as loudly.
On an SUV like the 4Runner or RAV4, that rear glass is large. It covers your full reversing sightline and clears road spray kicked up behind the vehicle in rain or sleet. A compromised rear blade means compromised visibility exactly when you need it most.
The reason rubber fails is straightforward. UV exposure and temperature swings, hot summers to cold winters, harden and crack the rubber edge over time. Once it stiffens, no amount of wiper motor pressure forces it to make clean contact with the glass. The result is streaking, chattering, or outright smearing across your rear window.
That’s not just annoying; it’s a safety issue. Reduced rear visibility in wet conditions affects your ability to judge what is closing behind you.
Making this worse, Toyota’s scheduled maintenance documentation does not consistently include rear wiper blade inspection. That means the dealership service reminder won’t flag it. You’re on your own for timing.
Why the 4Runner and RAV4 Use Different Rear Connectors
Toyota does not use a single universal rear connector across its SUV lineup, so the right blade for a RAV4 will not work on a 4Runner.
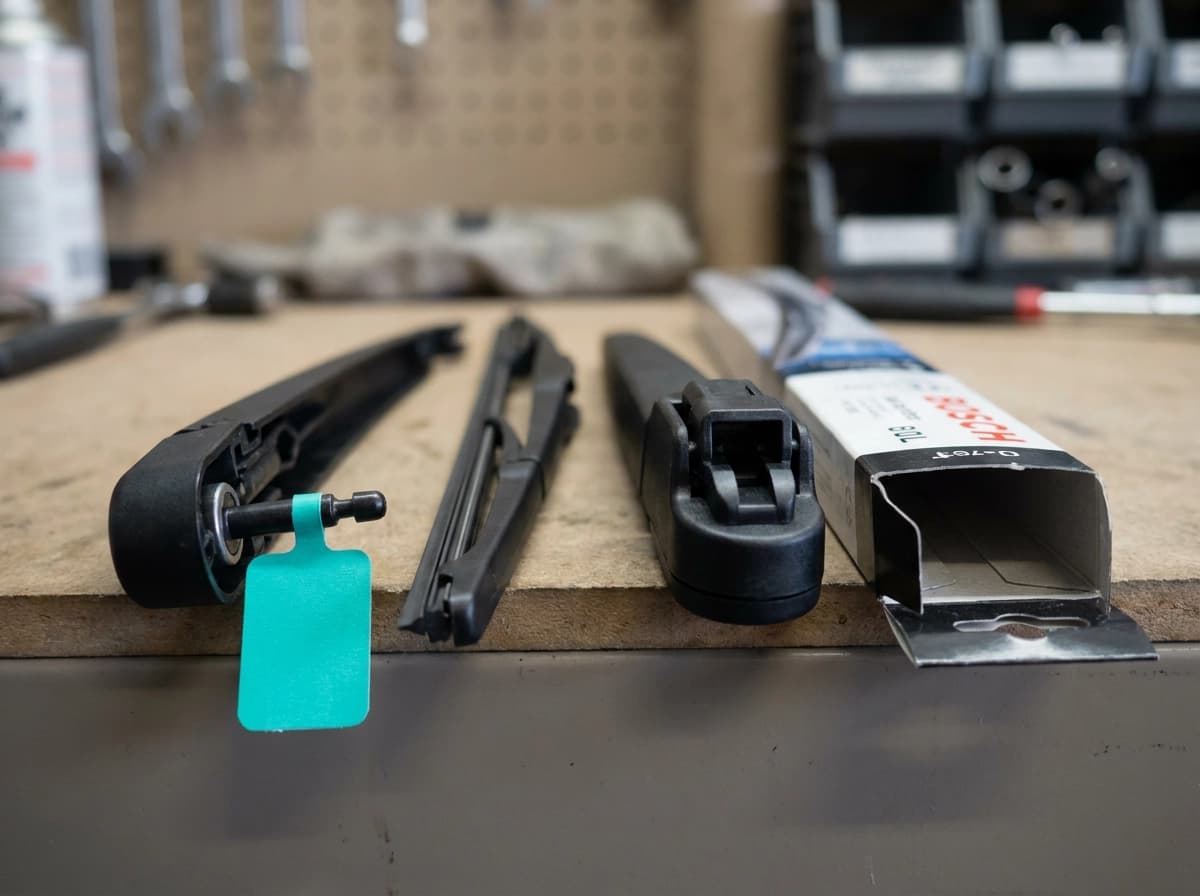
The 2019 to 2024 RAV4 uses what is commonly described as a traditional pin connector, confirm against your owner’s manual. A single pivot pin sits on the wiper arm and the blade saddle clips straight onto it. The iFixit RAV4 rear wiper guide describes a straightforward release: press the tab, slide the blade off the pin.
The 4Runner through the 5th-generation 2023 model uses what is commonly described as a hook-pin hybrid connector, confirm against your owner’s manual. The arm tip hooks around a bar on the blade body, and a secondary locking pin sits inboard of that hook. Both retention points must be released in sequence, making it a two-stage process.
The 2024-plus 6th-generation 4Runner underwent a major platform redesign. Rear wiper specifications are not yet fully documented, so owners should check the wiper arm label or consult their owner manual via Toyota’s official portal before purchasing a blade.
Identifying your connector type before buying is the most important step. The most common installation error is forcing a blade with the wrong adapter onto the arm and cracking the locking tab.
What You Need Before You Start
Now that you know which connector your Toyota uses, here’s everything you need:
The correct replacement blade for your model year. Confirm the correct length for your model year using your owner’s manual or a fitment guide before purchasing. The wrong length won’t seat properly, regardless of connector type.
No tools required. Both the pin connector style on the RAV4 and the hook-pin hybrid style on the 4Runner release with hand pressure on a locking tab.
A clean microfiber cloth. A quick wipe of the wiper arm pivot point and blade contact area removes grit that can prevent the new blade seating flush.
Optional: a thin plastic trim tool. If the locking tab feels stiff, a plastic pry tool lets you depress it without scratching the arm finish. Avoid anything metal.
Five to ten minutes in a good spot. Pick a dry, well-lit location where you can fully extend the wiper arm without it snapping back onto the rear window.
How to Replace the Rear Wiper Blade on a Toyota RAV4 (2019 to 2024)
With your blade and a couple of minutes on hand, here is the full RAV4 procedure.
- Open the rear tailgate and find the wiper arm sitting flat against the top center of the rear glass.
- Lift the arm straight up away from the glass until it locks at roughly 90 degrees. If it does not lock, hold it firmly throughout. A released arm can snap back forcefully against the glass, so keep hold of it throughout.
- Locate the pin connector where the blade saddle meets the arm. Flip the blade over and you will see a small plastic locking tab on the underside of the saddle.
- Press the locking tab inward while pivoting the blade toward the arm and sliding it down off the pin in one smooth motion. No significant force needed; if you are forcing it, the tab is not fully depressed.
- Align the new blade with the open saddle end over the pin, then push upward until you hear or feel a distinct click. Tug the blade gently to confirm it is locked and will not pull free.
- Lower the arm back to the glass slowly. Do not release it to drop freely.
The whole sequence takes five to ten minutes.
How to Replace the Rear Wiper Blade on a Toyota 4Runner (2010 to 2023)
The 4Runner rear wiper swap follows the same general idea as the RAV4, but the connector works differently, so work through these steps in order.
Step 1: Open the rear door or tailgate and locate the wiper arm at the top of the rear glass.
Step 2: Lift the arm firmly away from the glass until it sits in the raised position. Apply steady upward pressure and keep it held up throughout the procedure.
Step 3: Examine the connector. The 4Runner uses what is commonly described as a hook-pin hybrid design, confirm against your owner’s manual. The arm tip hooks around a bar on the blade body, and a secondary locking pin sits inboard of that hook. Both points must be released in sequence.
Step 4: Press the locking tab to release the secondary pin first. Once free, rotate the blade body toward the arm tip to lift it off the hook. Avoid pulling straight out without rotating, as forcing the wrong sequence can crack the locking tab.
Step 5: To fit the new blade, reverse the sequence. Hook the blade onto the arm tip first, then rotate the blade body downward until the secondary pin engages and the tab clicks audibly.
Step 6: Tug the blade firmly to confirm both the hook and the pin are locked before lowering the arm back to the glass.
A Note for Owners of the Redesigned 2024-Plus 4Runner
If your 4Runner is a 2024 or newer model, pause before using the steps above.
The 6th-generation 4Runner launched for the 2024 model year with significant changes across the vehicle platform. As of 2026, Toyota has not published updated rear wiper arm specifications for the redesigned model, and owner forum documentation for the new generation remains thin. That combination means the connector type on your arm is not yet confirmed by a reliable independent source.
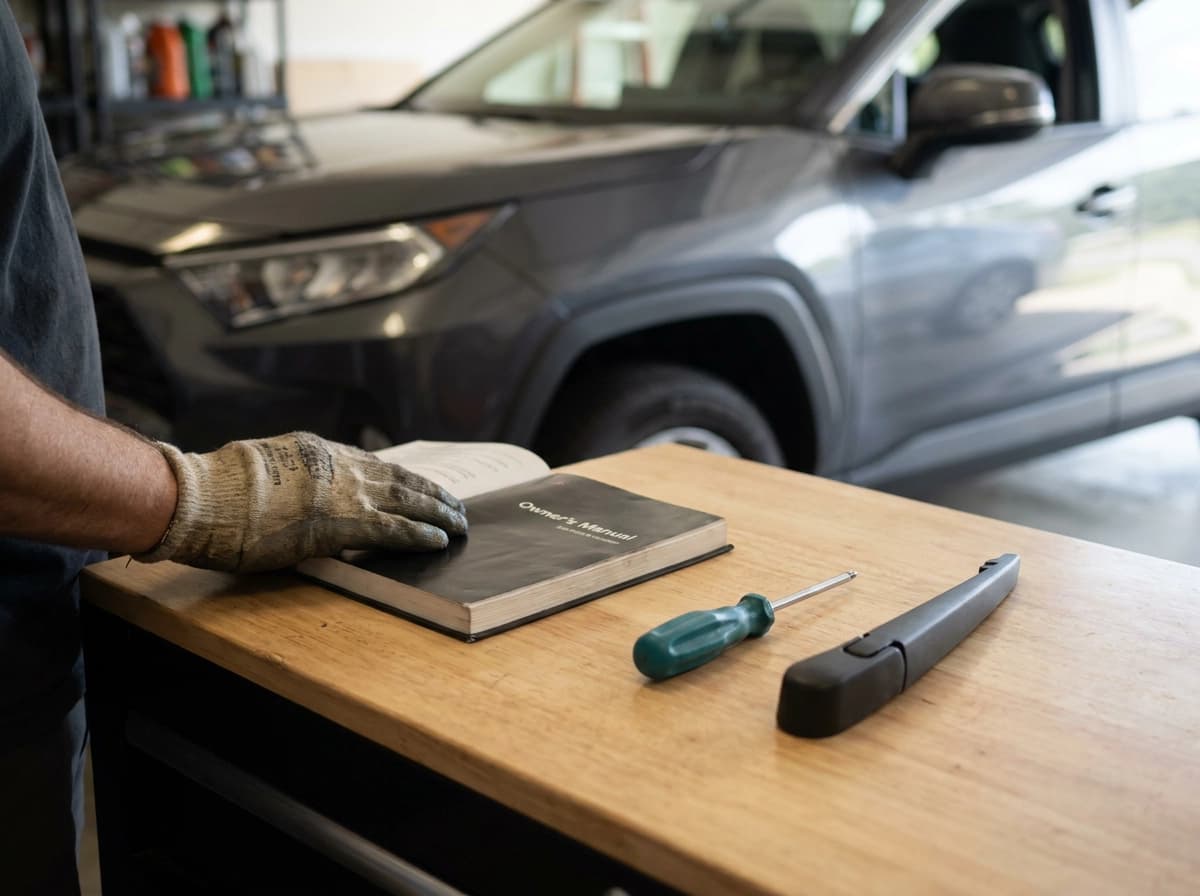
Before purchasing a replacement blade, check the wiper arm itself. Many arms carry a small label or stamped symbol near the connector that identifies the attachment type. If that label is present and legible, use it. If it is absent or unclear, your owner manual’s wiper section is the next stop.
Still unsure? Take the vehicle to a dealership parts counter and ask a tech to visually compare the arm tip against available blades. That comparison takes under two minutes and costs nothing, but it eliminates the risk of buying an incompatible blade.
The 2010 to 2023 procedure covered in the section above is a reasonable starting reference for 2024-plus owners, but treat it as a starting point rather than a confirmed procedure until more owner documentation becomes available for this generation.
Troubleshooting: When the Blade Does Not Click or Seat Properly
Even after confirming your connector type and model year, a few snags can still come up during final install. Here is how to handle each one.
Blade feels loose after fitting. The locking tab has not fully engaged. Remove the blade completely and repeat the install from the start. Do not lower the arm onto the glass with an unsecured blade.
Locking tab is stiff or will not depress. A fingernail or plastic trim tool is all you need. Metal tools can crack the tab housing, turning a minor snag into a parts replacement.
Blade chatters or skips right away. This is almost always a sizing issue. Cross-check the blade length against your model year’s specification before assuming the new blade is defective.
Wiper arm snapped back during removal. Inspect the rear glass for impact marks before continuing. A cracked screen changes the priority entirely.
New blade smears in a clean arc. Run the wiper through a few on-off cycles first; new rubber sometimes needs a brief break-in. If smearing continues, the glass likely has film build-up. Clean it with a dedicated glass cleaner and re-test.
Choosing the Right Rear Wiper Blade for Your Toyota
Once your blade is seated correctly, picking the right replacement upfront makes the next install even easier.
Rear wiper blades come in two designs: beam and framed. Beam blades apply pressure across the full rubber edge without an external frame structure. Framed blades have a metal or plastic bracket structure, cost less, and are widely available. Either design works on the RAV4 or 4Runner.
Quality markers worth checking on the packaging:
- Rubber compound listed as natural rubber or graphite-coated rubber
- UV-resistant housing
- Connector type clearly printed on the box, not just a vague “universal fit” label
For the RAV4 (2019 to 2024): confirm the blade is listed as compatible with a pin connector style and specifically covers your model years.
For the 4Runner (2010 to 2023): confirm fitment against your owner’s manual or a verified fitment guide for your generation before purchasing.
If you have rain-sensing wipers and want to confirm compatibility before buying, UNIWIPER addresses whether rain-sensing wiper systems are compatible with multi-fit blades, and their blades are available across Toyota models.
How Often Should You Replace Your Toyota Rear Wiper Blade
Once you’ve got the right blade in hand, knowing when to swap it is the final piece.
The general industry guideline is roughly once a year, though this varies by usage, weather, and conditions. Rear blades on SUVs like the 4Runner and RAV4 typically run far less often than front wipers, but don’t let that lull you into skipping checks entirely.
Visual inspection beats calendar timing every time. Run your eye along the rubber edge and look for cracking, tears, or stiffness. Check the frame or saddle for any visible bend, and look for separation between the rubber strip and the wiper lip. If you spot any of those, replace it regardless of age.
The wet-screen test is the most reliable field check. Run the rear wiper across a wet window and watch the results. Streaking, chattering, or any visible dry strip means the rubber edge has worn past useful service life.
If you live somewhere with intense sun, road salt, or hard winters, inspect the rear blade every time you change your front wipers to keep the cadence consistent.
The simplest habit: replace front and rear blades at the same time. It takes no extra trip, costs little, and means you’ll never back out of a parking garage in a downpour with a worn rear blade and no spare on hand.
Replacing Your Toyota Rear Wiper Blade: Key Takeaways
Once you know your replacement schedule, the rest comes down to getting the job done correctly. Here’s what matters most:
RAV4 vs. 4Runner connector types: Both models use connectors that require releasing a locking tab, but the sequences differ. The RAV4 (2019 to 2024) uses what is commonly described as a pin connector, confirm against your owner’s manual. The 4Runner (2010 to 2023) uses what is commonly described as a hook-pin hybrid requiring a two-stage release sequence, confirm against your owner’s manual.
Check fitment before you buy: Confirm the correct blade length for your model year using your owner’s manual or a fitment guide before purchasing.
No tools, under ten minutes: Both replacements are hand-only jobs. Knowing your connector sequence in advance is the only thing that separates a two-minute swap from a frustrating one.
2024-plus 4Runner owners: The 6th-generation redesign may carry updated rear wiper specs. Verify your connector type before purchasing a blade.
The payoff: A correctly fitted rear wiper blade with intact rubber restores full rear visibility in rain, sleet, and road spray. It’s one of the lowest-cost safety upgrades on any SUV, and it takes less time than a coffee stop.

