Imagine it’s a dark, rainy night and your wiper blades start chattering, leaving behind a smeared mess instead of wiping it clean. That moment of poor visibility is more than just annoying—it’s a safety hazard. Your wiper blades are a small but critical component of your vehicle’s safety system, working tirelessly to ensure you can see the road. Yet, they are one of the most overlooked parts of routine car care. This comprehensive guide will walk you through everything you need to know about wiper blade maintenance, from simple cleaning to knowing exactly when it’s time for a replacement, ensuring you never have to guess about your visibility again.
Why Wiper Blade Maintenance Is a Safety Essential
Wiper blades are made of rubber that is constantly exposed to the elements: scorching sun, freezing ice, road grime, and ozone. This exposure causes the rubber to harden, crack, and lose its flexibility. When this happens, they cannot conform to the curvature of your windshield, leading to poor performance. Regular maintenance is not about convenience; it’s about ensuring optimal performance when you need it most. Effective blades are crucial for safe driving during heavy rain, snow, and even when cleaning away morning dew or spray from other vehicles.
Spotting the Signs: When Your Wiper Blades Need Attention
Knowing when to service your wipers is key. Don’t wait for a major storm to discover they’ve failed. Look for these clear warning signs:
Streaking and Smearing
If your blades leave behind persistent, thin lines of water or hazy streaks, it means the rubber edge is no longer making even contact. This creates distracting patterns that blur your vision.
Chattering, Skipping, or Squeaking
A chattering or jumping blade is often caused by hardened rubber or a bent frame. This inconsistent motion leaves large areas unwiped and produces an irritating noise.
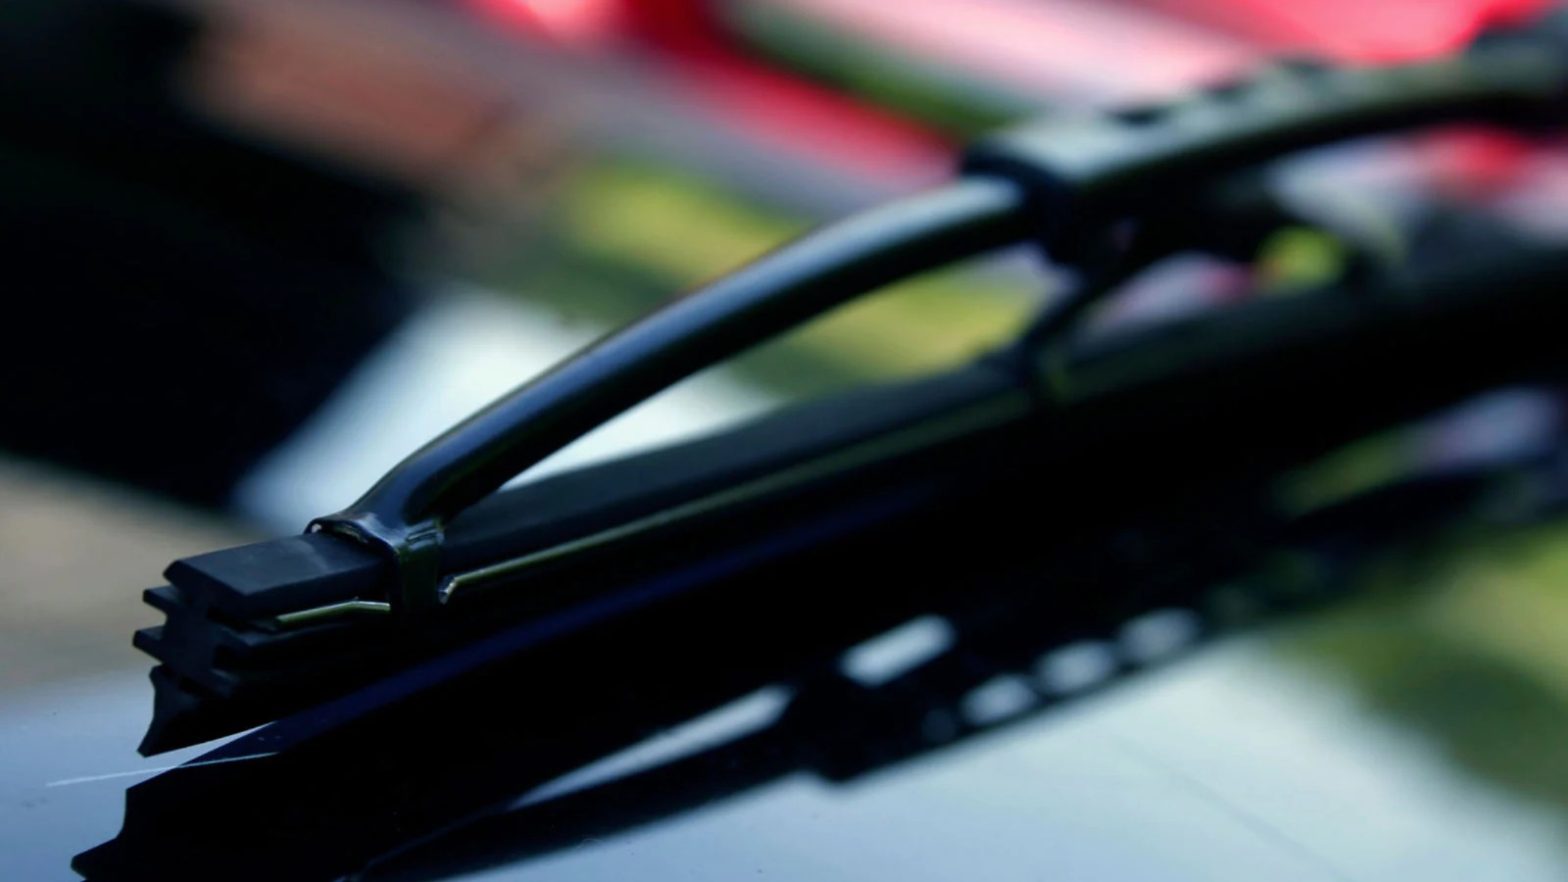
Visible Damage to the Blades
Inspect the rubber edges regularly. Look for obvious signs of wear like cracks, splits, tears, or rounded edges. Also, check the metal or plastic frame for bends or corrosion.
Reduced Wiper Performance
This is the ultimate test. If after a wiping cycle, your windshield is still covered in a film of water, dirt, or grime, your blades are no longer doing their job effectively.
Step-by-Step: How to Clean Your Wiper Blades
Often, poor performance is simply due to built-up grime. A quick cleaning can restore function and extend the life of your blades.
Materials You’ll Need:
-
A soft microfiber cloth
-
Windshield washer fluid or isopropyl alcohol (rubbing alcohol)
-
A bowl of warm, soapy water
The Cleaning Process:
-
Lift the Blades: Carefully lift the wiper arms away from the windshield. Most have a “service position” (check your manual). To avoid the spring-loaded arm snapping back, hold it securely.
-
Wipe Down the Frame: Use the soapy water and cloth to clean the entire metal/plastic blade frame, removing any dirt or bugs.
-
Clean the Rubber Edge: This is the most important step. Fold a clean section of your microfiber cloth over the rubber squeegee. Moisten it with washer fluid or rubbing alcohol. Gently wipe along the full length of the rubber edge, from one end to the other. You’ll often see a line of black grime come off. Use a fresh part of the cloth for a second pass.
-
Dry and Return: Use a dry part of the cloth to wipe the rubber edge dry. Gently lower the wiper arm back onto the windshield.
Pro Tip: Clean your windshield thoroughly at the same time, using a dedicated glass cleaner on both the inside and outside. A dirty windshield accelerates wiper blade wear.
The Complete Guide to Replacing Wiper Blades
Even with perfect care, wiper blades wear out. Most manufacturers recommend replacing them every 6 to 12 months, but let the performance signs, not the calendar, be your final guide.
Choosing the Correct Replacement Blades
You need the right size and type. Find this information in your vehicle’s owner’s manual, use the auto parts store lookup guide, or measure the length of your old blades (in inches). The three main attachment types are J-Hook (the most common), Side Pin, and Bayonet. Take a photo of your old blade’s connection point if you’re unsure.
Step-by-Step Replacement Process
-
Prepare: Lift the wiper arm away from the windshield, just as you did for cleaning.
-
Release the Old Blade: Find the small tab or release mechanism on the underside where the blade connects to the arm. Press it to unlock the blade, then slide it off the arm’s hook or pin. Handle the arm carefully.
-
Attach the New Blade: Align the new blade’s connector with the arm. You should hear a definitive “click” when it locks securely into place.
-
Test Gently: Lower the arm back to the windshield. Do not let it snap back. Turn on your washer fluid and wipers for a test cycle to ensure smooth, quiet, and streak-free operation.
Expert Tips for Extending Wiper Blade Life
-
De-ice with Care: Never use your wipers to scrape ice or frost. Always manually clear the windshield first.
-
Lift in Winter: Before a snow or ice storm, lift your wiper arms away from the glass to prevent them from freezing to the windshield.
-
Keep it Clean: Regularly clean your windshield and use your washer fluid to lubricate the wipe cycle, rather than running the wipers on a dry glass.
-
Park in the Shade: Whenever possible, park in a garage or shaded area to reduce UV damage and heat exposure.
Clear Vision for Safe Journeys
Maintaining your wiper blades is a simple, inexpensive, and vital part of responsible vehicle ownership. By incorporating a quick visual inspection into your monthly car wash routine, knowing how to clean them properly, and replacing them at the first sign of failure, you invest directly in your safety. Clear visibility is non-negotiable for safe driving. Don’t let neglected wiper blades turn a minor inconvenience into a major risk. Take a moment to check yours today—your clearer, safer view of the road awaits.