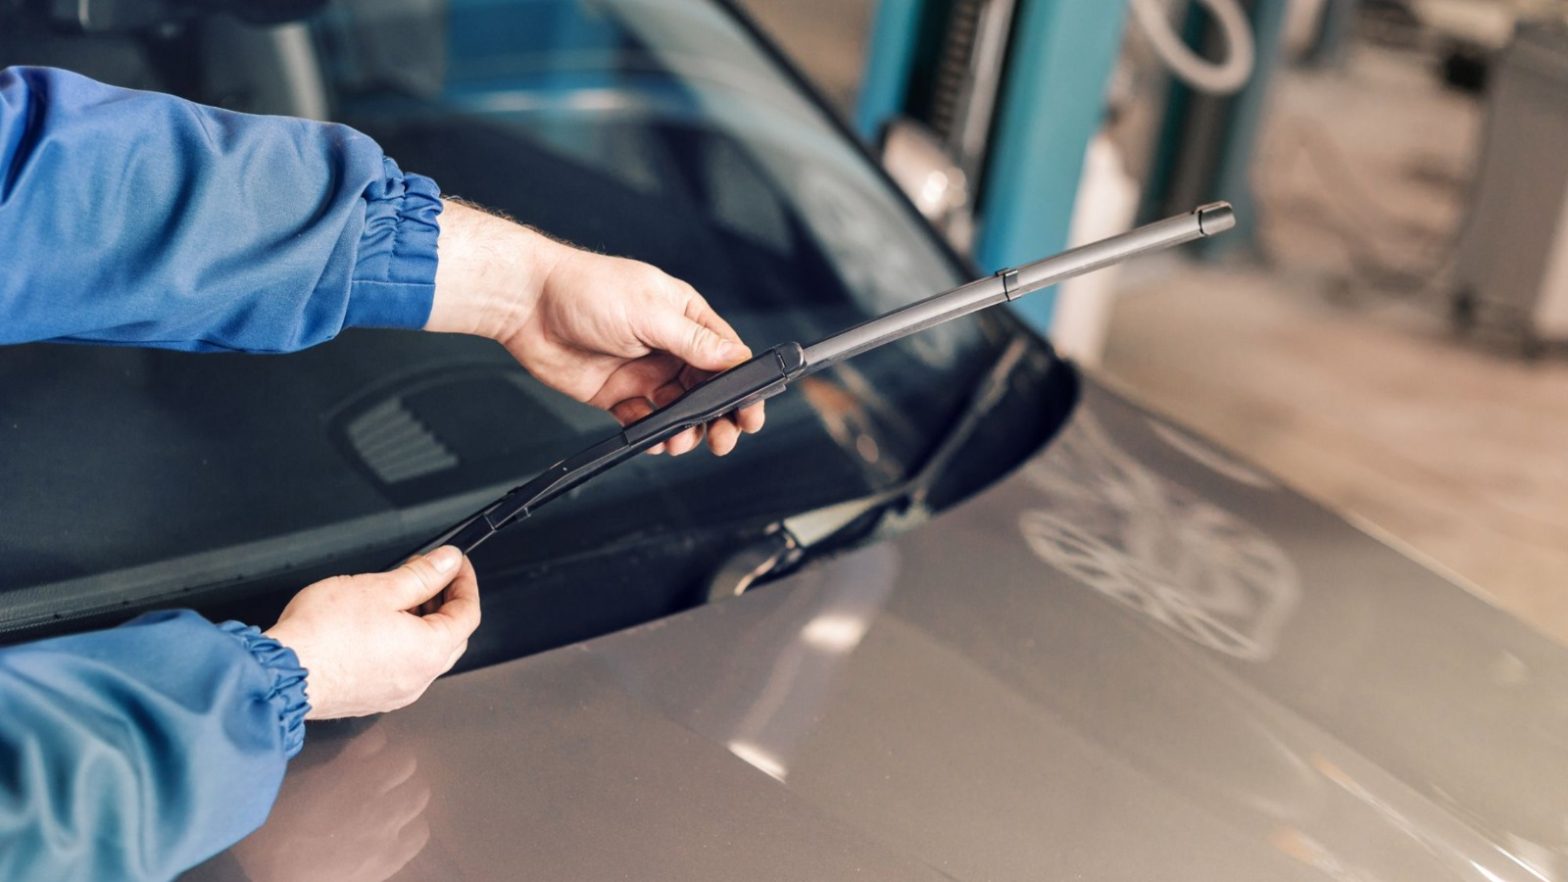
Learn to replace your wiper blades like a pro! Our step-by-step tutorial guides you through the DIY process, ensuring safer drives with improved visibility. Drive confidently with this easy-to-follow guide.
Maintaining your vehicle is not just about changing the oil or rotating the tires; it’s also crucial to pay attention to smaller components that play a significant role in ensuring your safety on the road. One such often overlooked but vital part is the wiper blades. Over time, wiper blades can wear out, affecting visibility and ultimately compromising your safety. In this step-by-step tutorial, we’ll guide you through the process of replacing your wiper blades, a simple DIY task that can make a big difference.
Step 1: Gather the Necessary Tools and Materials
Before starting the replacement process, ensure you have the right tools and materials. Purchase wiper blades that are compatible with your vehicle’s make and model. Consult your vehicle’s manual or ask at an auto parts store if you’re unsure about the right size. Additionally, having a small screwdriver on hand can be useful for some wiper blade designs, especially those with locking tabs.
Consider wearing gloves to protect your hands during the process, especially if your wiper blades are old and potentially worn.
Step 2: Lift the Wiper Arms
Gently lift the wiper arms away from the windshield. If your vehicle has a wiper arm locking mechanism, engage it to hold the arms in the raised position. This step ensures that you have easy access to the wiper blades without any interference from the windshield.
Step 3: Remove the Old Wiper Blades
Locate the release mechanism on the wiper blade. This could be a tab, latch, or a button, depending on the design of your wiper blades. Press or lift this mechanism to release the old blade. Sometimes, you might need to use a small screwdriver to assist in releasing the tab.
When removing the old wiper blade, pay attention to how it is attached to the wiper arm. Some blades have a hook-style attachment, while others might have a pin or bayonet style. Understanding this attachment style is crucial for selecting the correct replacement blades.
Step 4: Note the Attachment Style
Different vehicles have different wiper blade attachment styles. It’s essential to identify the type your vehicle uses before purchasing replacements. The most common attachment styles are hook, pin, and bayonet. Make a note of this information or take a picture with your phone to ensure you buy the right replacement blades.
Step 5: Attach the New Wiper Blades
Slide the new wiper blades onto the wiper arms, following the instructions provided with the replacement blades. For hook-style attachments, you’ll typically need to slide the blade along the wiper arm until it clicks into place. For pin or bayonet styles, you may need to align the blade with the arm and then secure it by pressing down or using a locking mechanism.
Step 6: Lower the Wiper Arms
Gently lower the wiper arms back onto the windshield. Lower them slowly to avoid any sudden impact with the glass. Ensure that the blades make proper contact with the windshield and are not misaligned.
Step 7: Test the New Wiper Blades
Turn on your wipers and test the new blades. Check for any unusual noises, streaks, or skipping. If the blades are not performing as expected, double-check the attachment and alignment. It’s not uncommon for new blades to have a protective cover that needs to be removed before use, so ensure you’ve done this if necessary.
Conclusion:
Congratulations! You’ve successfully replaced your wiper blades, contributing to safer driving conditions. This simple DIY task not only improves visibility during adverse weather but also extends the life of your windshield wiper system. Regularly inspect and replace your wiper blades to ensure optimal performance and, most importantly, to keep you and your passengers safe on the road.
